Installing & Setting up ArgoCD on Kubernetes
Backend Sorcery & Finance Geeking
In simple terms, ArgoCD detects an event and triggers a Kubernetes deployment to achieve a desired state.
This blog is the final piece of the Custom CI/CD Pipeline series for my project ChaturMail: AI Email Generator📧
ArgoCD detects some change in a GitHub repo and triggers a new Kubernetes deployment.
Installing ArgoCD
We'll install ArgoCD on Kubernetes using one simple command
If you made it through the Hosting Harbor on VPS using NGINX as Reverse Proxy part then this is really easy😀
Before ArgoCD is installed, a namespace needs to be created, run the following command to create a namespace
kubectl create namespace argocd
Now that the namespace is created, ArgoCD can be finally installed, run the following command to install it
kubectl apply -n argocd -f https://raw.githubusercontent.com/argoproj/argo-cd/stable/manifests/install.yaml
You'll see lots of stuff being created. Relax, it is all needed for ArgoCD to function properly.
Meanwhile, you can take a look at the YAML config in the link in the above command.
This will take some time for all the pods to set up and come up, check the status using the following command.
kubectl get pod -n
This command will list all existing pods and their status which will look something like this

This means that the pods are being created. So just wait.
While you wait, checkout my other blogs hehe🙃
Once all pods are up & running, the status will look something like this

Hooray!! ArgoCD is not installed
Accessing ArgoCD via Web GUI
ArgoCD is exposed via a service, to get all the services, run the following command
kubectl get svc -n argocd
This will list all available commands in the argocd namespace which will look something like this
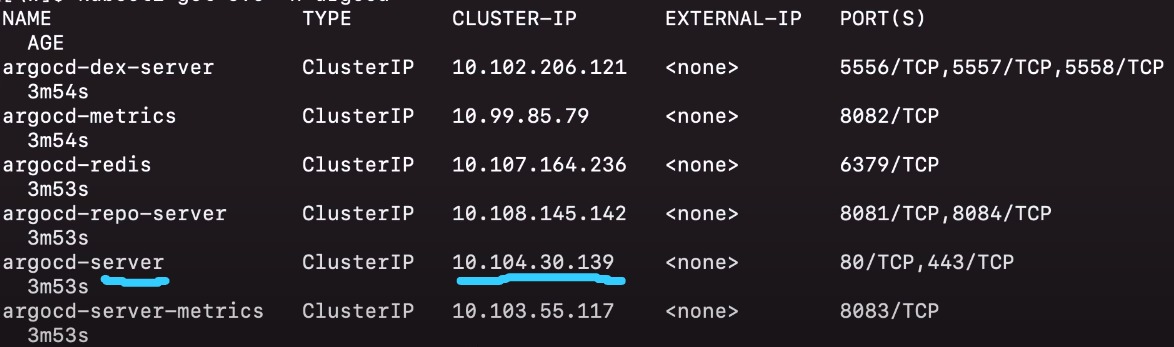
The service argocd-server needs to be port forwarded to access ArgoCD. Run the following command to do so
kubectl port-forward -n argocd svc/argocd-server 8080:443
This command will set up a port forwarding from the port 443 of the argocd-server service to the port 8080 of our local host.
Now we can access ArgoCD at our localhost port 8080, load one of the following URLs in your browser
http://localhost:8080
http://127.0.0.1:8080
You will get a warning because the SSL certificate is self-signed, ignore the warning and proceed.
You'll land on the login page something like this
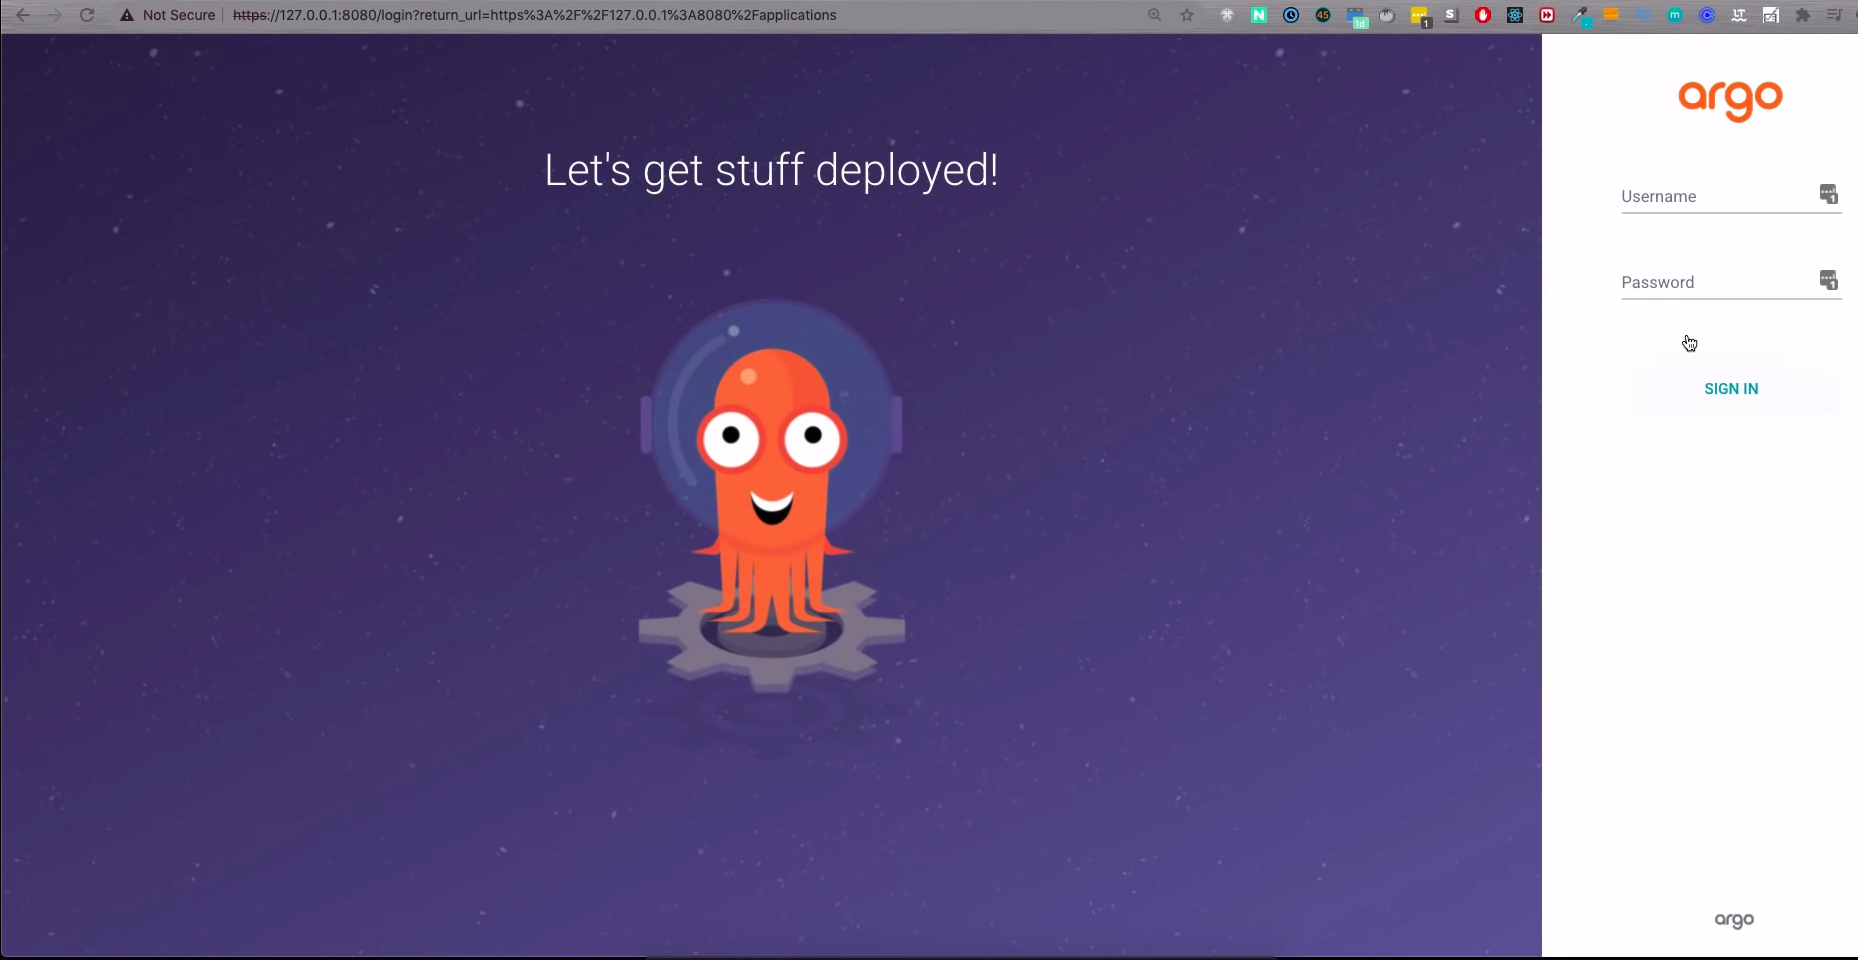
Here, the username is admin and password is an auto-generated secret. To get the password run the following command
kubectl -n argocd get secret argocd-initial-admin-secret -o yaml
This will output a password something like this. The password is base64 encoded and we need to decode it before it can be used
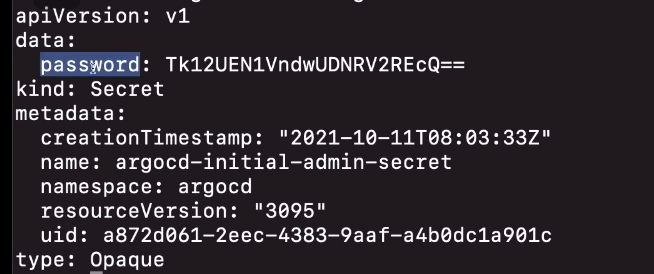
Run the following command to decode it, additionally, you can decode it anyhow you want you just need a base64 decoder
echo <super-secret-password-copied-from-above> | base64 --decode
Now the output is your password, keep it safe and login on to the web GUI, it'll look something like this
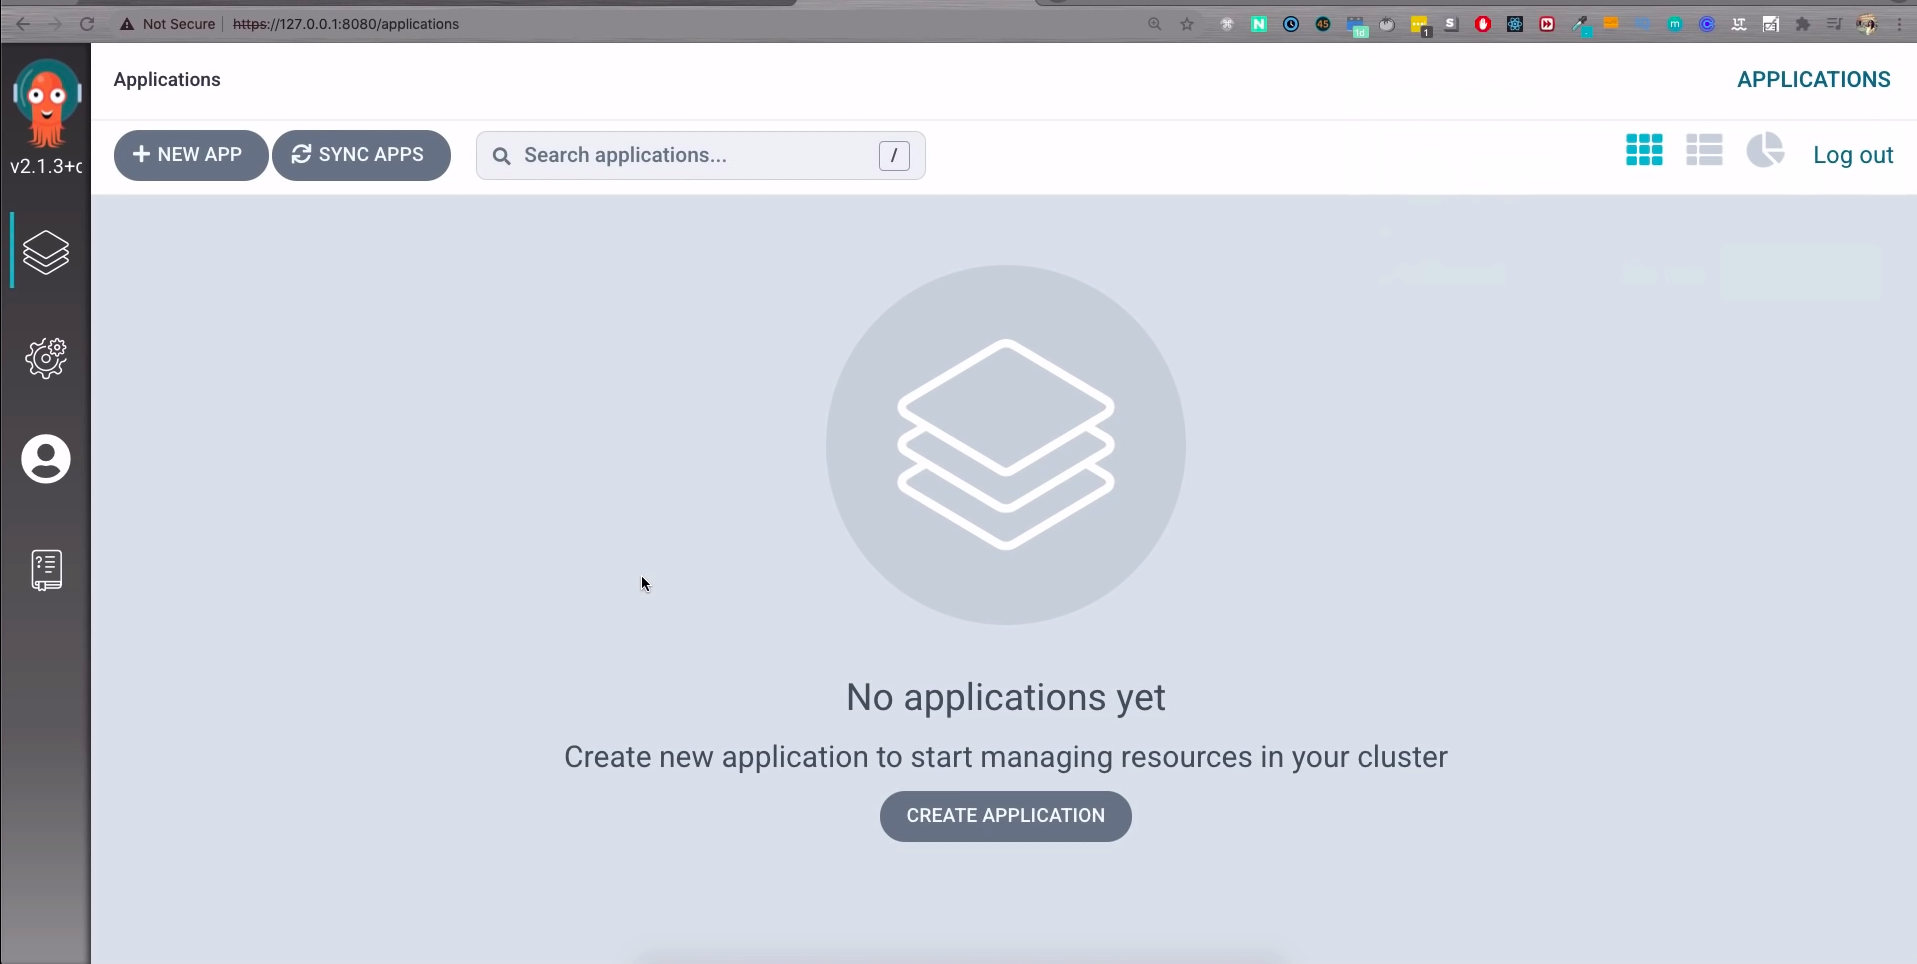
Deploying a project from GUI
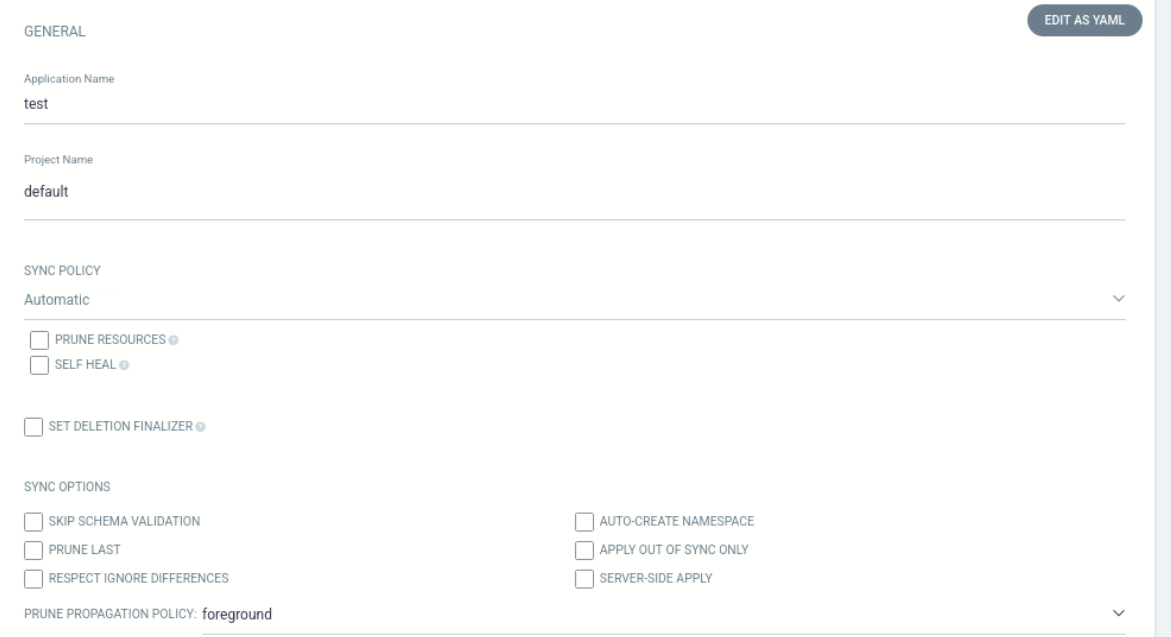
Click on create a new app and then fill out all the necessary details like this. The important one here is SYNC POLICY which decides when to sync the changes.
PRUNE RESOURCES: If you had some resource in your git repo and if you remove it, it'll be deleted from here as well.SELF HEAL: Changes via git repo are only allowed if you make any changes to pods usingkubectlor anything else, they'll be reverted.
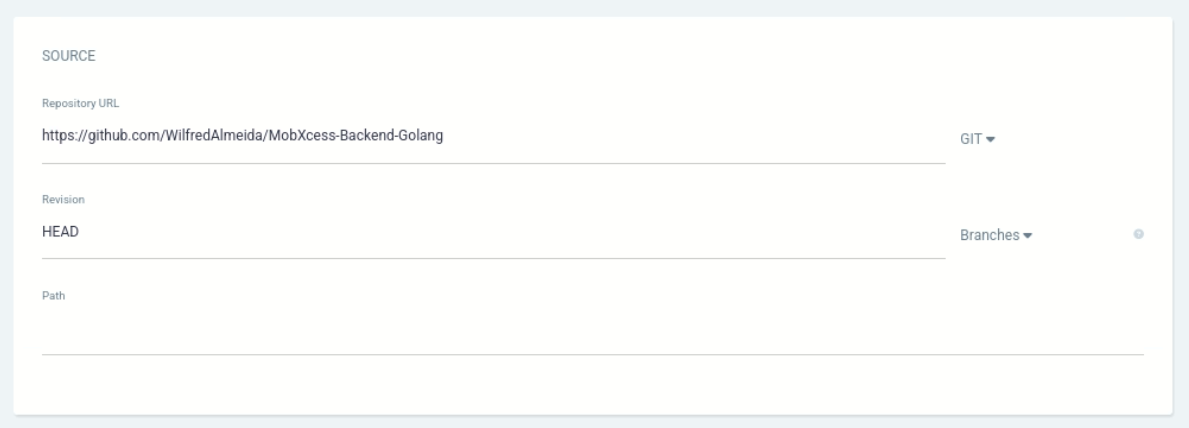
Now you need to provide the git repo to watch & the K8S YAML config to execute. Note that all YAML configs in the specified path will be applied.
Now we need to specify the Kubernetes namespace to deploy to

That's all, click Create and your app will be created and ArgoCD will check the given git repo every 3 minutes for changes. Once it detects any changes, it'll apply the YAML config from the provided path.
Deploying a project from CLI
You can also create an app from CLI, all you need is some YAML like the following. Explaining the directives is out of the scope of this blog, refer to the official docs.
apiVersion: argoproj.io/v1alpha1
kind: Application
metadata:
  name: myapp-argo-application
  namespace: argocd
spec:
  project: default

  source:
    repoURL: https://github.com/WilfredAlmeida/MobXcess-Backend-Golang
    targetRevision: HEAD
    path: dev
  destination:
    server: https://kubernetes.default.svc
    namespace: myapp

  syncPolicy:
    syncOptions:
    - CreateNamespace=true

    automated:
      selfHeal: true
      prune: true
To apply this config, you just need to run 1 command like this
kubectl apply -f myYaml.yaml
And voila!! that's all!!!
What's Next?
This blog concludes my Custom CI/CD Pipeline series for my project ChaturMail: AI Email Generator📧. Reach out to me on Twitter or anywhere else if you need any help. Check out my other blogs & follow for more.